How to make candles with essential oils
HOMEMADE AROMATHERAPY CANDLES
Who doesn’t love candles?
These Homemade Aromatherapy Candles make the ultimate relaxation gift and the perfect use for all of those old mason jars. You just need wax, wicks and essential oils. That’s right! essential oils are what help you make homemade scented candles meaning you can customize them yourselves!
DIY Aromatherapy Candles.

These Homemade Aromatherapy Candles are so easy to make. The hardest part is finding the supplies! I love this how-to from Tate tots and Jello. She even shows you how to make your own wicks!
Make sure you have enough oil for the amount of candles you’re making. If you’re doing a larger batch, try using an essential oil diffuser like this one.
The Aromatherapy Candles have a calming scent that will help you relax and get ready for bed.
Just about the first thing that every person comments on when they walk into our apartment is our excessive collection of candles. C and I collect candles and spend an exorbitant amount on candles each month. Watching us in West Elm is like watching a kid in a candy store.
We’re always trying to figure out how we can buy another candle. And every time we do, I make a mental note to myself that it’s time to find another place for all of these candles. We are never going to burn them all! But then we come home and light one, and before you know it the whole collection is burning.

This particular candle is one of my favorites because it smells like the beach (I love the beach).
Today I’m sharing my best tips for making homemade aromatherapy candles (or essential oil candles because that’s pretty much what they are!) as well as ways you can avoid making the same mistakes I have the habit of making every single time.
Essential Oil Candle Making: Step-by-Step
Making candles with essential oils is surprisingly easy. After you’ve gathered your materials, the process will take you less than 10 minutes.
STEP 1: Let’s Talk Soy Wax
In terms of ingredients, these scented candles are fairly easy to make. All you need are soy wax flakes and essential oils (plus your tools).
Why soy wax?
Well, it's naturally made and very environmentally friendly. It's also odorless, non-toxic, biodegradable and clean burning. And did I mention that soy wax candles burn for up to 50% longer than paraffin wax candles? So the candles are not only good for your health but also for the environment!

Soy wax will melt fairly quickly and is easy to manage, however you will want to use some kind of disposable device for stirring as it sticks to everything and is difficult to remove once it’s set. I use a wooden chopstick that I can toss once I’m done the candle making process.
Step #2: Placing the Wick
Begin by taking your wick and placing it in the center of your candle mold. To make sure that you’re centered, use a marker to mark the spot where you want to place the wick.
Next, gently press the wick into the center of your candle mold until it touches both sides. This will ensure that you have an even burn across all parts of your candle.
STEP 3: Add your Essential Oils
Aromatherapy candles are effectively essential oil candles. If you’re curious to learn more about aromatherapy check out this post on Essential Oils 101. You’ll need to add about 80-120 drops of essential oil. I recommend using a concentrated oil blend.
Again, refer to this post for more information about the benefits of different essential oils. Feel free to mix-and-match too! Just add the oils directly to the melted soy wax.
Step #4: Prepare Your Wax Melts
Next, take your melting pot and add a few drops of your scented oil to it. Heat up your oil until it is melted and then add in your wax melts. The wax melts should be evenly distributed across the melting pot, but not piled on top of each other.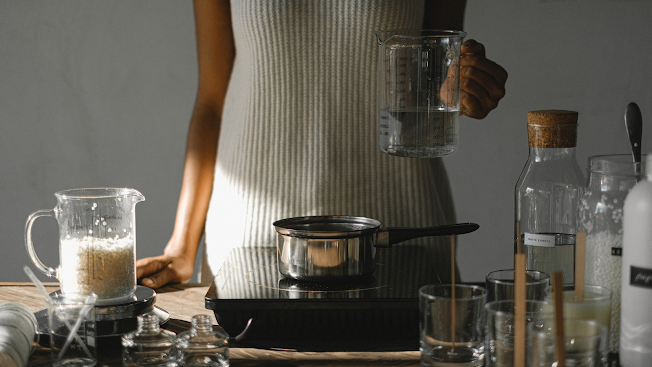
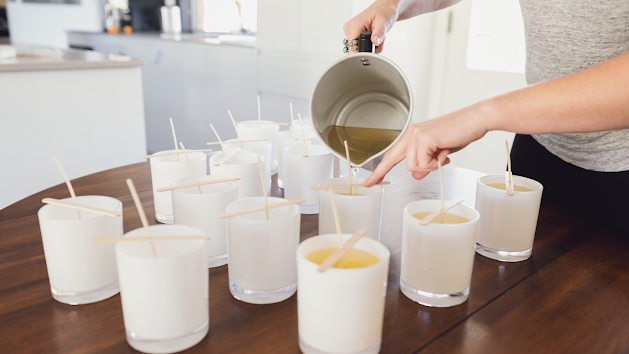
When the wax melts are fully melted, you can then begin to pour them into your candle mold. The pouring process will be easier if you use a metal funnel that has been pre-soaked in hot water for at least 10 minutes. Make sure that you avoid using plastic funnels as they can easily melt under the heat of the wax.
Step #5: Placing Your Wax Beans
Take your wax beans and begin to gently place them around the wick. Try to avoid overfilling your mold as this will make it difficult for you to remove your candle later on.
Be sure that you place the wax beans into the center of each well so that they can be covered by the hot wax and burn evenly.
Step #6: Enjoy Your Candle!


Comments
Post a Comment